Showing posts with label crafts. Show all posts

Sunday, February 20

Heavy Baby


Here's what I've been doing late at night :)


A young expectant mama asked me to construct this Heavy Baby from a kit that she purchased here. She intends to present it to her toddler when the new baby arrives.


This 16 " Heavy Baby is filled with 4 pounds of millet that is scented with lavender essential oil. It was an amazingly delightful sensory experience to work with. The pattern was very simple and straightforward and required only basic sewing skills. It involved a combination of hand-sewing (making the head and attaching the head and hands to the body) and machine stitching (sewing the body and clothing).


I enjoyed making this doll so much that I made a second, smaller 12" one to keep and share with Toucie :)

Monday, December 27

December Gift-Making...Hollow Book

Just squeezing this quick mention of a gift I made for 17 year old Mado this Yule: a Hollow Book in which to hide away secret treasure.


First I chose a pretty book from the thrift store...not too flashy or attention-grabbing, but very handsome nontheless.


I looked for a title that would be a good tongue-in-cheek reminder and set the volume apart from other books in Mado's collection.


I used a straight edge and an x-acto knife (and a couple of hours of Netflix) to cut an opening in the center of the book, a few pages at a time.


I left about 50 pages intact in both the front and back of the book.


The book I chose was not very thick...I would have preferred a heftier tome, a Tolstoy or Proust, maybe...but there was just enough room for a little jewel box to fit inside this slim reader.


...and this awesome pin is what I tucked inside the jewel box (found at The Animal Den)

This gift was really well-received by my Mado...she actually started reading the book (which she thought quite interesting) before she realized the secret compartment and the pin, and so was doubly delighted :)

Friday, December 17

December Gift-Making...Bookmarks - two ways


(Oh my goodness look at her...so tiny!) A few of years ago, when Toucie was 2 years old, we struck upon the idea of beaded bookmarks as a holiday gift that she could, with her toddler's skills, make mostly on her own.


She chose ribbons and beads for each loved one and did the cutting and threading while I sat nearby and tied the necessary knots.


We worked in short sessions, matching her attention span, over several days to complete about a dozen bookmarks.


Here is what one looks like in action.

There is not much to the instructions once you've decided what kind of book to size it to (small paperbacks, large storybooks, etc)...
1) cut a length of ribbon several inches longer than book
2) tie a knot in one end leaving a decorative tail of about an inch. Make sure the knot is bigger than the holes in your beads!
3) thread a couple of beads on
4) tie another knot to keep those beads in place
5) move down the ribbon and make another knot...the distance between this knot and the previous one should be just a bit greater than the height of your book. this allows the flat ribbon to be sandwiched between the pages while the beads stick out from the top and bottom of the book.
6) thread a couple of beads on
7) make a final knot to keep those beads in place and trim the ribbon leaving a pretty tail
8) give to a loved one with chest puffed out in pride

This year, Toucie revisited this craft (with the help of some big sisters) and was the lucky recipient of 2 pretty bookmarks! I was totally elated as I am always in need of a bookmark :) Every year I set a goal for reading a certain number of books...this year it was 60...so there are alot of books around here that need marking!


The one on the bottom is made in a similar fashion to the ones described above. The top bookmark is simply three pretty ribbons braided.


This is how Toucie learned to braid, by the way...ropes hanging off the doorknob.


Pinning the knotted ribbons (or hemp, yarn or whatever) to the curtains (or the sofa cushion, tablecloth, etc) helps small hands manage them.


Perfect! Simple, practical, beautiful...something to feel proud of :)

Thursday, December 16

December Gift-making........All Natural Heating Pads


Toucie and I worked on these as gifts for our college girls, Naya and Sodie this year. They are cotton socks filled with corn and essential oils and stitched up. They can be stored in the freezer to be used as cold packs, but we know our girls will prefer them as hot pads. They are designed to be warmed in the dormitory microwave for 1-3 minutes and draped around the collegiate neck (or any other part of the body) for comforting, therapeutic, moist heat. We hope they will feel a bit like hugs from mom and little sister.


We started with feed corn...about 6 cups per sock. I don't suppose this is necessary, but we rinsed our corn clean in clear water, then spread it out to dry on a towel in front of the fireplace. Some folks use beans or rice or flax for filling....I chose corn based on the fact that I think flax and rice are more likely to be damaged in the microwave and beans don't smell as good as corn :)


Once the corn was dry, we placed it in a bowl and blended in a combination of essential oils. We used about 15 drops of peppermint oil and 25 drops of lavender oil for our 12 cups of corn. Some folks put dried herbs inside, but we considered that a microwave hazard.


These are old, 100% cotton, over-the-knee socks purchased a few years ago at a Renaissance Festival. These heating pads can be made by just filling a sock (tube socks are good for this) with corn and tying a knot in the open end, but Toucie and I wanted ours a bit more finished. To begin, Toucie turned the sock inside out. In the photo above, I marked a black line on the sock (where my scissors are pointing) to show where I made my stitch line.


After stitching across the sock, I cut off the excess (the foot of the sock) and Toucie turned the sock right side out again.


Toucie then got busy filling it up with our scented corn. The sock only looks about 1/3 to 1/2 full when she's done...that's perfect because we want a flat heating pad not a stuffed tubular one.


I took the sock to the machine again to close the top. The cuff was still intact there, but it was wide and red...for the sake of an evenly patterned final product, I snipped off the cuff and turned the edges in as I stitched it closed. I tried to show this in the photo above.

When the socks were stitched closed, we laid them down and patted them flat distributing the corn evenly throughout. In the photo above, you can see that I made lines of stitching at three intervals to keep the corn distributed nicely and prevent it from running to one end of the sock. All done!


Wednesday, December 15

December Gift-Making...Postcards


Here is sweet gift that Toucie made to give to Naya and Sodie...she is hoping that when they are off at college they will think of her occasionally and drop her a line. (To that end, we actually stamped and addressed these postcards with Toucie's name and address to help facilitate the desired outcome).


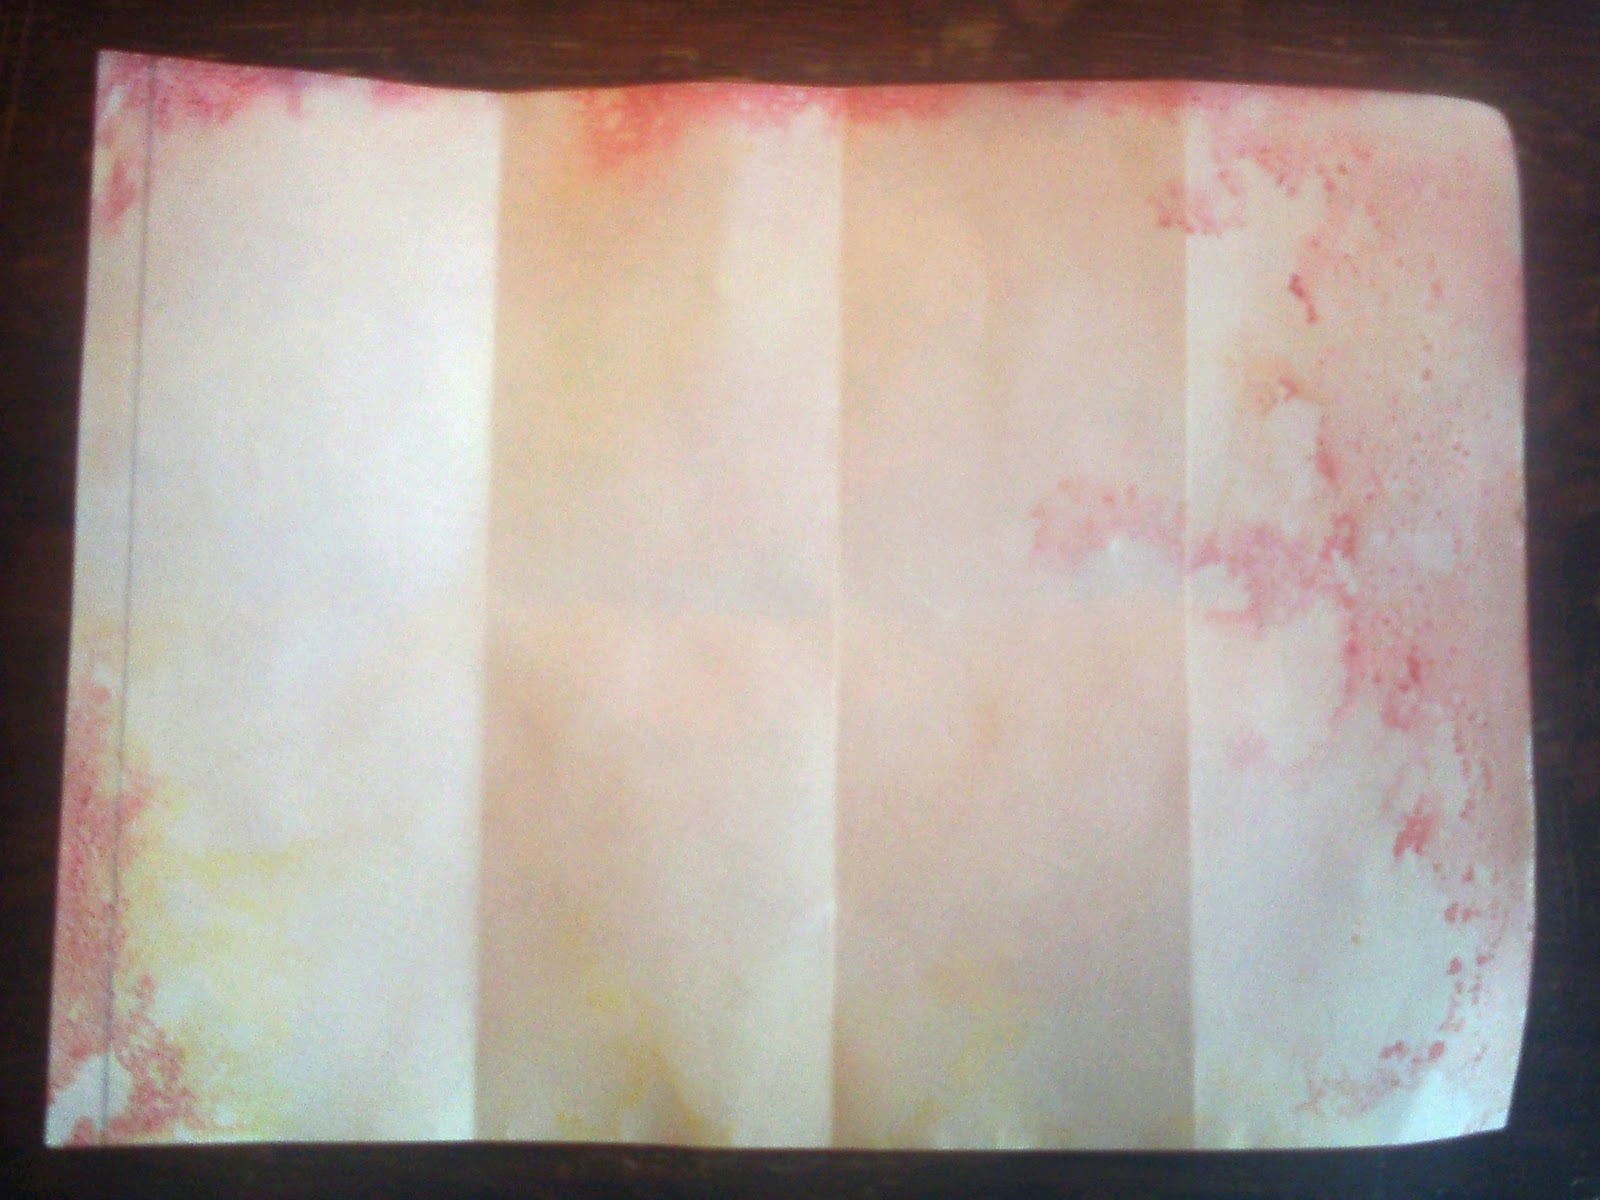
We started with the heaviest watercolor paper we had on hand, drawing lines to divide it into nine 4 x 6 sections. We chose 4 x 6 because that worked well with the paper we were using, but you have flexibility. Here are the U.S. postal standards for postcard sizes. I used masking tape (blue painters tape is even better) to mask off each individual section on the paper...this will leave a clean, white frame around each postcard when done. (If you use regular masking tape you run the risk of tearing the paper when you try to pull it off later...so I use a trick that Mado taught me: press each strip of masking tape to your clothing before pressing it to the paper...this reduces the stickiness just enough.)


Then Toucie let fly with the paints! This is watercolor paint on dry paper (not our usual wet-on-wet technique...we needed the tape to stick and also wanted the back of the paper to stay clean and white)


Once the paint was dry we pulled off the tape.


The paper we used was not heavy enough for my taste...I was worried they wouldn't hold up in all the postal machinery. I decided to use these laminating sheets to help make the postcards sturdier. I just laid the adhesive sheets on the painted side of the paper we had made and used a rolling pin to press it on very firmly.


Then all that was left to do was cut the paper up into cards following the pencil lines I had marked back at step one. Then we made some lines on the clean white side to show where to write the address and place the stamp. We stored them under heavy books until gifting time to press them nice and flat.
I love the way these came out...so pretty!

Saturday, November 20

A Waldorf Paper Lantern Tutorial


In the spirit of Martinmas, I've come up with something to share with you .


Now, I've never written a tutorial...so, bear that in mind as you wade through this long strand of mediocre photos and murky instructions. Hopefully by the end, though, you'll have enough clear information to create these lovelies for your own.


So, you begin with watercolor paper that has been painted (and dried)...this size happens to be 11x15 and makes a lantern that is roughly 6" tall and 4" square. Any size rectangle will do, but using paper that is much smaller than this won't leave much room for a candle!


To make the paper more translucent, use a soft cloth or paper towel to gently rub oil over the entire surface of the paper, front and back. I just used canola oil, and I've used olive oil before, too.


You can hold the paper up to the light to see where the translucency has occurred and where you may have missed a spot. Wipe away as much excess oil as possible. 


If you feel like there is still alot of oil on your paper, lay it between sheets of clean newsprint, then between layers of newspaper and weight it down with a big book for a while. This will blot away extra oil. When I am making several lanterns at a time, I oil all the sheets of paper and store them like this. Skip this blotting step if you feel that you were able to wipe enough oil off and your paper no longer tacky with oil.


On the back of the paper, mark a line about 1/2" from the edge. Fold the paper along that line To make the crease very flexible, fold first to the front, then to the back, then lay the paper flat again.


Now fold the paper from the right, all the way over to the 1/2" mark. Again, crease the paper sharply, folding both to the front and back. Every fold we make must be creased in this manner.


Fold in half again, up to the 1/2" line.


Does your paper look like this?


Now fold it horizontally in half. (Don't forget to crease it to the back and the front).


Fold again horizontally into fourths.


When you open the paper flat again, you should have 4 equal rows of 4 equal rectangles with that little 1/2" strip running down the left side. Next, use a straightedge to draw pencil lines diagonally across the rectangles from corner to corner...do this only for the 8 rectangles in the center rows as shown.


Do the same thing going the other way, dividing those center rectangles from corner to corner.


Crease the paper along these diagonal lines, folding to both the front and back as usual. This is tricky to explain, but not difficult to do.


Here is another picture of the same action. Just fold on all the diagonal pencil lines that go one direction, then fold on all the lines that go the other direction. 


You paper should be looking rather like this. Go up to that top row of rectangles and fold it into thirds...like you are hemming fabric; fold it over a third of the way, then fold it over again.


Now use scissors to cut along the folds that separate the 4 rectangles in the bottom row. Also, let's trim away a couple of bits that we won't be needing. Can you see that I've snipped away a portion of the 1/2" strip down on the bottom left? And also up at the top left?


Here's a closer look at the top left corner...don't snip away too much!


Now the fun begins! "Hem" the top edge of paper by turning it down and gluing it along the folds you made earlier. Depending on what kind of glue you are using, you may need to wait for glue to dry between steps from here on out.


Bring the right side of the paper over towards the left. Glue the 1/2 strip (or tab, or flap, if that helps make this clearer) to the back of the righthand edge of the paper.


Here is a closer look at that step...I like to slip the very top of the1/2" tab/flap/strip in between the folds of the "hem" to make a neat finish.


Do you have something that looks like this? Let the glue dry before going on.


When the glue is set, you should have something that opens into a rectangular tube-like shape.


Here's another look from a different angle. This "hemmed" edge is the top of the lantern. 


The flaps at the other end fold in to form the bottom. Glue these as you fold them on top of each other.


I like to cut a square of card stock to glue to the bottom. It makes it sturdier and gives it a more finished look.


And here is another square of card stock glued to the inside to finish that, too.


A heavy can or jar can weight things down while the glue sets. (That is the pasta sauce that I'm going to have to feed my family tonight because I've spent all afternoon goofing around with lanterns).


Once all the glue is dry, you can begin shaping the lantern. This is why we folded every crease both to the front and the back...so we could get this awesome shape. Beginning at the sharp corner edges of the lantern, press the diamond shapes so that they pop inward. 


Work your way from diamond to diamond...all the diamonds should curve inward at their centers and point outward at their points. Just keep manipulating the paper until you are able to achieve this.


And there it is! Just the right size for a centerpiece or mantle decoration...or a Lantern Walk! You can make a string or wire handle to thread through holes punched in the top edge if you like. A tealight candle can be glued to the center of the bottom of the lantern...it is quite safe.


Happy Martinmas! Welcome Season of Light!